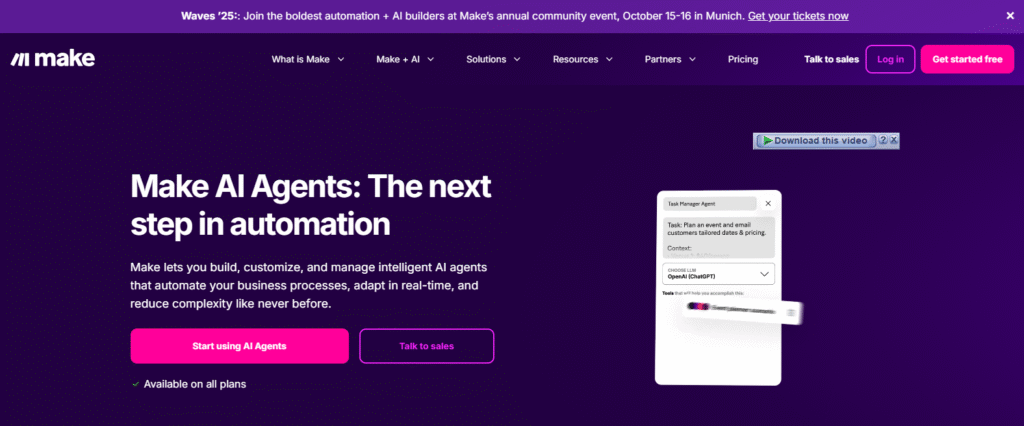
Artificial Intelligence is no longer reserved for big tech companies. Thanks to platforms like Make.com, anyone can build their own AI-powered automation—without writing a single line of code.
In this detailed guide, I’ll show you step-by-step how to create an AI agent in Make.com. We’ll connect it to Llama 3 via Grok, give it access to useful tools like FAQs stored in Google Docs, and even automate customer replies through email and forms. By the end, you’ll have your own AI customer service agent running on autopilot.

Ready to build your own AI agent without writing a single line of code? With Make.com, you can create powerful automations and connect them to advanced AI models like Llama-3. Best of all, it’s free to get started and you’ll even get a complimentary trial with premium features. Don’t wait—Join Make.com now and launch your first AI workflow today! Learn step-by-step how to create an AI agent in Make.com, connect Llama 3, automate FAQs & emails, and streamline your business with no coding.
Why Build an AI Agent in Make.com?
If you run a business, you probably receive tons of repetitive questions—about products, pricing, operating hours, or shipping. Instead of manually answering every email or form submission, an AI agent can:
- Reply instantly to customer inquiries.
- Maintain consistent tone and professionalism.
- Save hours by automating repetitive work.
- Scale effortlessly as your customer base grows.
Make.com (formerly Integromat) offers a drag-and-drop interface that enables you to design automations—called scenarios—without requiring coding. When combined with AI models like Llama-3, it becomes a powerful platform for intelligent automation.
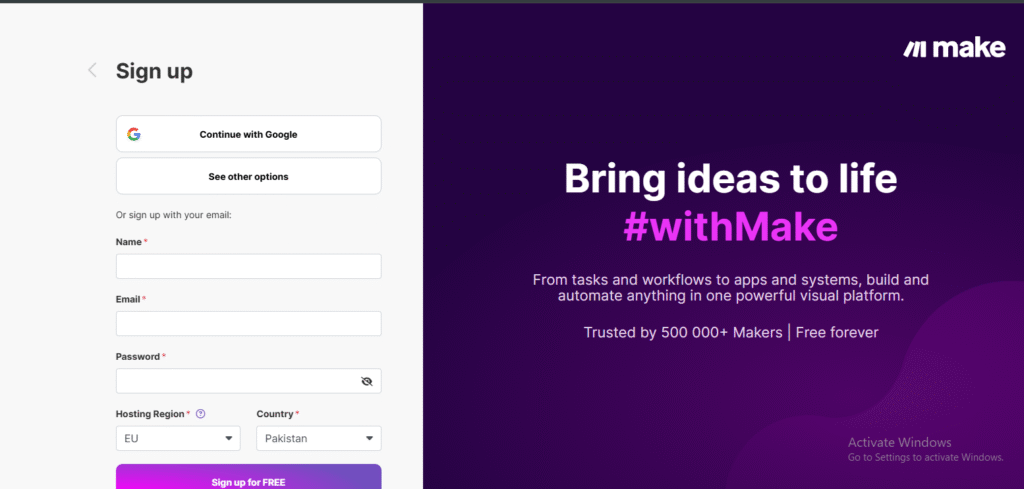
Step 1: Sign Up and Access Make.com
The first step is creating your Make account. You can sign up for free on Make.com, and if you follow certain referral links, you’ll even get one month of Pro access with 10,000 operations included.

Once you log in, you’ll see the Make dashboard. This is your control center for everything related to agents, integrations, and workflows.
Step 2: Create Your First AI Agent
On the left-hand menu, click AI Agents, then select Create Agent.
This opens the agent setup screen, where you’ll configure the “brain” of your AI agent. But first, you need to connect it to a language model.
Step 3: Connect Grok and Llama-3
Make allows you to connect with multiple AI providers like OpenAI, Anthropic, Mistral, and more. For this guide, we’ll use Grok, which provides access to Meta’s Llama-3 models for free.
Here’s how:
- Choose Grok as your provider.
- Enter a connection name (default is fine).
- Paste in your API key from Grok. To get one:
- Go to grok.com.
- Sign up for a free account.
- In the Dev Console, create an API key.
- Copy and paste it back into Make.
- Go to grok.com.
Now your agent can “think” using Llama-3. For best results, select Llama-3-70B, which balances speed, accuracy, and reasoning ability.
Step 4: Write the System Prompt
The system prompt is like your agent’s job description. It tells the AI who it is, what it does, and how it should behave.
Example prompt:
“You are a friendly and helpful customer service agent for the Kevin Cookie Company. Respond to customer questions about cookie flavors, store hours, shipping, and pricing. Keep your tone warm, polite, and professional. If you don’t know the answer, suggest contacting support.”
This ensures your agent stays on brand, polite, and consistent.
Save the agent, and congratulations—you’ve just created your first AI agent in Make! Businesses around the world are saving hours every week by automating customer support with Make AI agents. Imagine having an AI that answers FAQs, sends emails, and handles form submissions—completely on autopilot. You can do all of this with Make in just a few clicks. Start your free account today and see how much time you’ll save. Try Make.com Now
Step 5: Add Tools to Your AI Agent
Your AI agent now has a brain and instructions, but it still needs tools—like FAQs, email, or form data—to do its job effectively.
Let’s start with an FAQ knowledge base.
Tool 1: Connect an FAQ via Google Docs
- Go to Scenarios in Make.
- Click Create a new scenario.
- Choose Google Docs from the app list.
- Select Get Content of a Document.
- Connect your Google account.
- Pick your FAQ document.
Now, add a Scenarios Module → Return Output.
- Name the output (e.g., KCC_FAQ).
- Add a description (e.g., “Retrieves answers to common questions like store hours, cookie flavors, and pricing”).
- Save and activate.
Your agent can now access the FAQ anytime to answer customer questions. Just like Tally forms, you can also capture and respond to leads directly from social platforms. If you run paid ads, check out my tutorial on How to Automate Facebook Lead Ads with Make. It shows you exactly how to connect your ad campaigns to Make so leads flow directly into your CRM or email without any manual effort.
Tool 2: Set Up Email Replies
Next, let’s give the agent the ability to reply to emails.
- Create a new scenario.
- Add three Scenario Inputs:
- Customer Email Address
- Email Subject
- Email Content
- Customer Email Address
- Add a module for Email → Send Email (using Gmail, Outlook, or another provider).
- Map the inputs to the respective fields.
- Save and set it to Run on Demand.
Now the AI agent can send personalized emails automatically.
Tool 3: Automate Customer Form Submissions (Tally)
If you collect customer questions via forms (like Tally or Google Forms), you can integrate those directly.
- Create another scenario.
- Select Tally → Watch for New Responses.
- Connect your Tally form.
- Add the AI Agent → Run Agent module.
- Choose your AI agent from the dropdown.
- Add tools (FAQ + Email) so the agent can look up answers and reply.
- Add custom instructions:
- Greet the customer by name (use the form field dynamically).
- Sign off with a branded closing.
- Greet the customer by name (use the form field dynamically).
For example:
“Hello [Name], according to our FAQ, here’s the information you requested. Cheers, Kevin Cookie Company Customer Support.”
Test it out by submitting a form response. Within seconds, you’ll receive an automated, personalized reply by email. If you’re interested in going beyond email replies and FAQs, you can also integrate conversational AI into your chatbots. For example, I’ve shared a step-by-step guide on How to Make Your Manychat Bot Smarter with Dialogflow AI where you can see how natural conversations can be powered by AI. This is a great next step if you want to enhance your customer interactions across platforms.
Step 6: Test and Activate
Before going live:
- Use Run Once to test scenarios.
- Check that the FAQ pulls the right data.
- Ensure the email formatting looks professional.
- Verify that the AI greets customers by name and follows instructions.
Once you’re satisfied, switch the scenario to Active. From now on, your AI agent will handle customer questions automatically. Tired of spending hours replying to repetitive emails and form submissions? Let an AI agent do the heavy lifting for you. With Make.com, you can connect your apps, train your agent, and let it handle customer queries 24/7. It’s simple, powerful, and affordable. 👉 Create Your AI Agent Now on Make.com
Real-World Example: Cookie Monster’s Question
In our walkthrough, a customer named Cookie Monster submitted a question via Tally asking:
“What are your store hours on Saturday?”
The AI agent checked the FAQ, composed a polite email, and responded:
“Hello, Cookie Monster. According to our FAQ, our store hours on Saturday are from 10 AM to 6 PM. We hope this helps, and look forward to seeing you soon. Cheers, Kevin Cookie Company Customer Support.”
All of this happened automatically, with zero human intervention.
Step 7: Expand and Customize
The beauty of Make.com is flexibility. You’re not limited to Google Docs, Email, and Tally. You can integrate your AI agent with thousands of apps, such as:
- CRM tools (HubSpot, Salesforce)
- Messaging apps (WhatsApp, Slack)
- Databases (Airtable, Notion, MySQL)
- E-commerce platforms (Shopify, WooCommerce)
You can reuse the same agent but assign different tools depending on the scenario. For example, in one workflow, it might answer emails, while in another, it responds to WhatsApp messages. AI agents aren’t just for customer service—they can streamline almost any workflow. In fact, I’ve written a full tutorial on How I Use Make.com to Automate My Publication Process (Step-by-Step Guide), where I walk through how I save hours managing content publishing. If you’re running a blog, business, or newsletter, you’ll love how automation simplifies repetitive tasks.
Best Practices for Building AI Agents in Make
- Keep Prompts Clear – Your system prompt should define tone, scope, and fallback behavior.
- Start Simple – Begin with one tool (like FAQ lookup) before adding more complexity.
- Use On-Demand Scenarios – This ensures tools only run when needed, saving operations.
- Test Frequently – Always run scenarios in test mode before activating.
- Document Your Setup – Add clear descriptions to each tool so future you (or teammates) know what it does.
Let’s Build Your AI Automations Together
At Axiabits, we don’t just teach automation—we help you implement it. If you’re inspired by this guide on building AI agents with Make.com but would like expert hands to set it up for your business, we’ve got you covered.
✅ Custom AI Agent Setup – We design and deploy AI-powered agents for your customer support, sales, or operations.
✅ Workflow Automation – From FAQs to email campaigns and form integrations, we connect Make.com with the tools you already use.
✅ Business-Specific Solutions – Whether you run e-commerce, SaaS, or digital services, we tailor automations that fit your exact needs.
✅ Ongoing Optimization – Our team continuously improves your AI scenarios so they stay effective as your business grows.
Instead of spending weeks figuring it out, let our experts do the heavy lifting while you focus on running your business.
Ready to supercharge your workflows? Contact Axiabits today, and let’s build the future of your automation together.
Conclusion: Your AI Agent is Ready
By following these steps, you now have a fully functional AI agent in Make.com that:
- Uses Llama-3 via Grok for reasoning and responses.
- Accesses your FAQ knowledge base to provide accurate answers.
- Sends professional email replies automatically.
- Handles form submissions without human involvement.
This setup not only saves time but also ensures customers always get fast, friendly, and accurate replies. Smarter support, faster replies, and more time saved. 👉 Start your free Make.com account here!
Disclaimer
This article features affiliate links, which indicate that if you click on any of the links and make a purchase, we may receive a small commission. There’s no extra cost to you, and it aids in supporting our blog, enabling us to keep delivering valuable content. We solely endorse products or services that we think will benefit our audience.
Frequently Asked Questions
Do I need coding experience to build an AI agent in Make.com?
No coding is required. Make.com uses a drag-and-drop interface that lets you connect apps, AI models, and workflows visually.
Which AI models can I use with Make.com?
You can integrate popular models such as OpenAI’s GPT, Anthropic’s Claude, Mistral, and Grok (which gives free access to Llama-3 models).
Can my AI agent access external data like FAQs or spreadsheets?
Yes. You can connect your agent to Google Docs, Google Sheets, Notion, or even databases, so it can pull real-time information for customer responses.
Is it possible to automate customer emails with my AI agent?
Absolutely. By setting up an email scenario in Make.com, your AI agent can compose and send personalized replies using Gmail, Outlook, or other providers.
What are the most common use cases for AI agents in Make.com?
Popular use cases include customer support automation, FAQ chatbots, form response handling (like Tally or Google Forms), marketing copy generation, and internal workflow assistance.


