Introduction:

Adding dynamic functionality to your Webflow site can greatly enhance user experience and streamline your workflow. Finsweet attributes offer a powerful way to achieve this by enabling dynamic interactions without the need for custom code.
Table of Contents
What is Finsweet Attributes & How to Integrate?
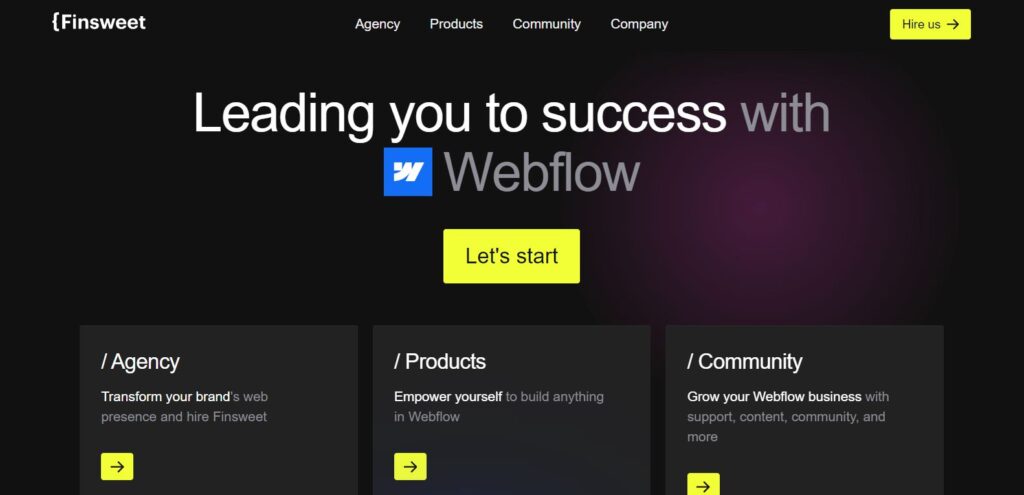
Finsweet Attributes is a collection of custom interactions and animations designed to enhance the functionality and interactivity of websites built on the Webflow platform. Developed by the creative agency Finsweet, these attributes provide Webflow users with a range of dynamic features that can be easily integrated into their projects without the need for extensive coding knowledge.
In this step-by-step guide, we’ll walk you through the process of integrating Finsweet attributes into your Webflow site effortlessly.
Step 1: Sign Up for a Finsweet Account
Before you can start integrating Finsweet attributes into your Webflow site, you need to signup for a Finsweet account. Visit the Finsweet website and follow the prompts to create your account. Once registered, you’ll have access to the Finsweet attributes and other tools.
Step 2: Choose Your Finsweet Attributes
Finsweet offers a variety of attributes that you can integrate into your Webflow site, each serving a specific purpose. Explore the available options and choose the ones that best suit your needs. Some popular Finsweet attributes include Lottie animations, smooth scrolling, and dynamic text.
Step 3: Add Finsweet Attributes to Your Webflow Project
Once you’ve selected the Finsweet attributes you want to use, it’s time to add them to your Webflow project. Start by opening your project in the Webflow Designer and navigate to the page where you want to integrate the attributes.
Step 4: Install the Finsweet Script
Before you can start using Finsweet attributes in your Webflow project, you need to install the Finsweet script. This script is responsible for loading the necessary JavaScript files and initializing the attributes.
To install the Finsweet script, go to your Webflow project settings and navigate to the Custom Code section. Paste the Finsweet script code into the Head section of your project settings and save changes.
Step 5: Apply Finsweet Attributes to Elements
With the Finsweet script installed, you can now start applying Finsweet attributes to elements on your Webflow site. Select the element you want to add an attribute to and navigate to the Interactions panel in the Webflow Designer.
From the Interactions panel, click the Add New Interaction button and choose the Finsweet attribute you want to apply from the dropdown menu. Configure the attribute settings according to your preferences, such as animation speed or trigger type.
Step 6: Preview and Test Your Changes
After applying Finsweet attributes to your Webflow project, it’s essential to preview and test your changes to ensure everything is working correctly.
Preview your site in the Webflow Designer or publish it to a staging domain to see the Finsweet attributes in action. Test the interactions on different devices and screen sizes to ensure compatibility and responsiveness.
Step 7: Iterate and Refine
Once you’ve integrated Finsweet attributes into your Webflow site, take some time to iterate and refine your designs. Gather feedback from users and stakeholders and make adjustments as needed to enhance the user experience further.
Conclusion:
Integrating Finsweet attributes into your Webflow site is a straightforward process that can unlock a world of dynamic functionality without the need for custom code. By following this step-by-step guide, you can leverage the power of Finsweet attributes to create engaging and interactive web experiences for your audience.
Frequently Asked Questions
What are Finsweet Attributes?
Finsweet Attributes are a set of custom code snippets and functionalities designed by Finsweet to enhance the capabilities of Webflow websites. These attributes allow you to add advanced interactions, animations, and functionalities to your Webflow site without extensive custom coding.
How can I integrate Finsweet Attributes into my Webflow site?
Integrating Finsweet Attributes into your Webflow site is relatively straightforward. First, you’ll need to sign up for an account with Finsweet and obtain access to their library of attributes. Once you have access, you can simply copy the provided code snippets and paste them into the appropriate sections of your Webflow project.
Do I need coding experience to integrate Finsweet Attributes?
While having some coding knowledge can be helpful, it’s not necessarily required to integrate Finsweet Attributes into your Webflow site. The provided code snippets are generally well-documented and accompanied by instructions, making it accessible to users with varying levels of technical expertise. However, a basic understanding of HTML, CSS, and JavaScript can be beneficial for customization and troubleshooting.
Are Finsweet Attributes compatible with all Webflow plans?
Finsweet Attributes are compatible with Webflow’s CMS and E-commerce plans, as they often leverage features specific to these plans, such as dynamic content and product collections. However, some attributes may also work with Webflow’s Basic Hosting plan, which allows for custom code integration.


